How to Inject Peptides: A Complete Guide to SubQ and IM Injection Technique
Proper injection technique matters as much as the peptide itself. This guide covers subcutaneous and intramuscular injection, site selection, needle gauge, angle, aspiration, and the most common mistakes researchers make.
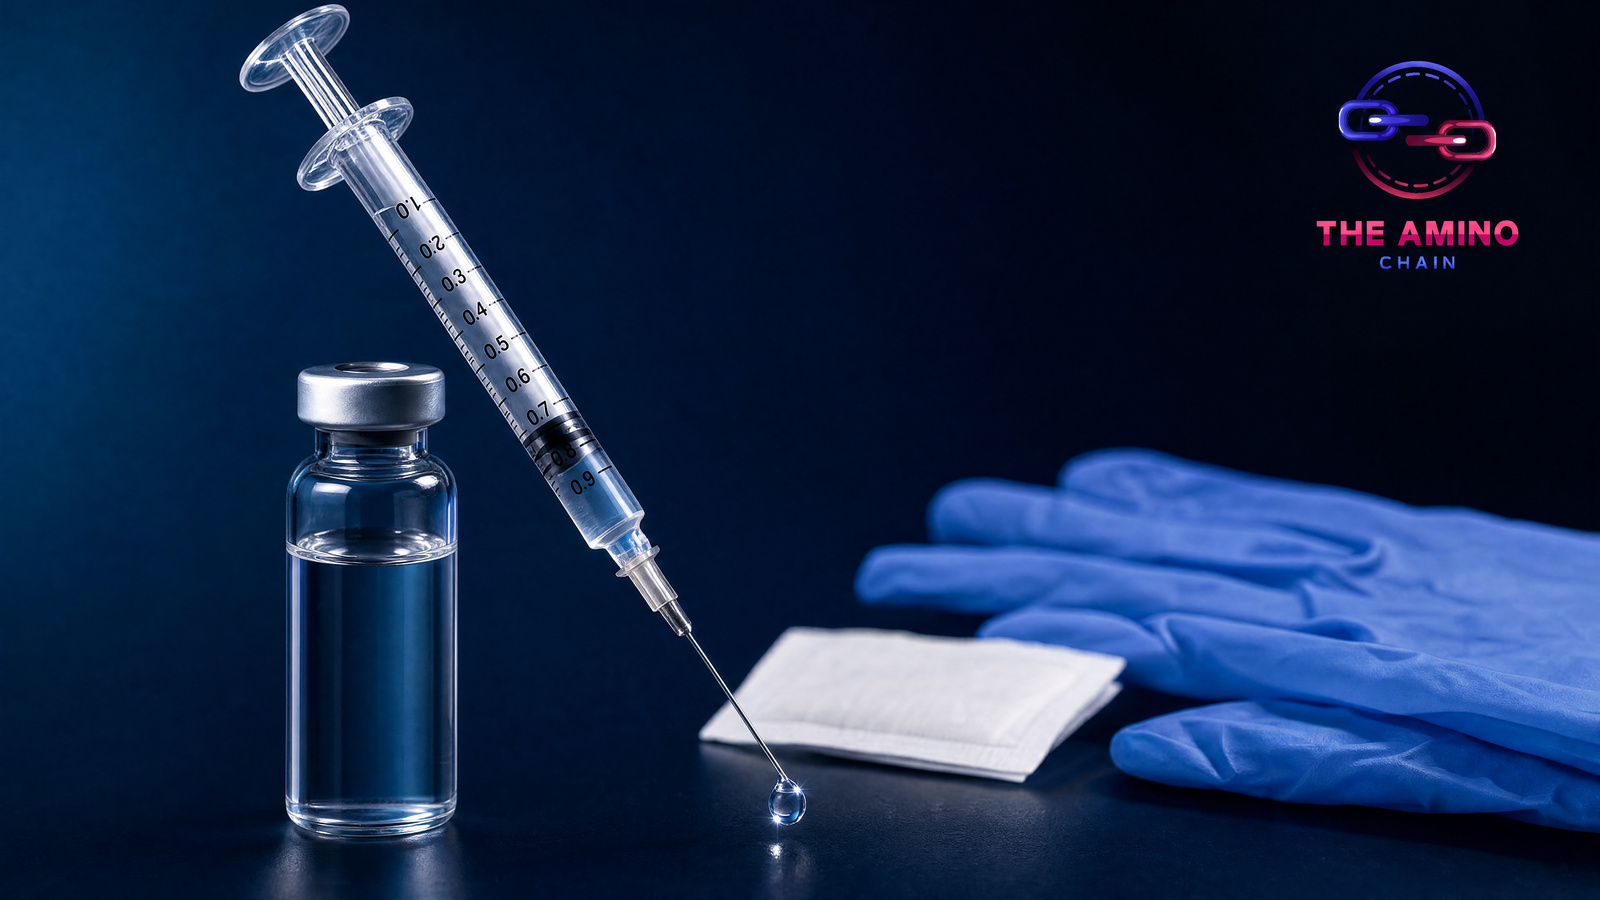
Reconstituting your peptide correctly is only half the equation. The injection itself — site selection, needle gauge, angle of insertion, depth, speed of injection, and post-injection care — directly affects absorption, comfort, and consistency of results. This guide covers everything from basic subcutaneous technique through intramuscular considerations, with practical details that most guides skip.
Subcutaneous (SubQ) Injection: The Standard Method
Subcutaneous injection delivers peptide into the fat layer between the skin and muscle. This is the most common administration route for research peptides because it provides consistent absorption, is technically simple, and uses the smallest needle gauges. The fat layer acts as a depot, releasing the peptide gradually into the bloodstream over minutes to hours depending on the compound's properties.
Site Selection for SubQ Injection
The most commonly used subcutaneous injection sites are the abdominal area (avoiding a 2-inch radius around the navel), the upper outer thigh, and the back of the upper arm. Each site has advantages. The abdomen offers the largest accessible fat depot and generally provides the most consistent absorption rates. The thigh is easy to access and allows self-injection without assistance. The upper arm has adequate fat in most individuals but may be harder to access for self-injection.
Site rotation is important for repeated injections. Injecting the same spot repeatedly can cause lipodystrophy — either lipoatrophy (tissue wasting) or lipohypertrophy (tissue buildup) — which affects absorption rates and causes cosmetic changes. Rotate between at least 3-4 sites, using a different spot each injection, and keep each injection at least 1 inch from any previous injection site within the last week.
Needle Gauge and Length
For subcutaneous injection, insulin syringes with 29-31 gauge needles and 1/2 inch (12.7mm) length are standard. The gauge number indicates needle thickness — higher numbers mean thinner needles. A 31-gauge needle is thinner than 29-gauge, causing less tissue trauma and less sensation during injection.
For most individuals, a 1/2 inch needle inserted at a 45-90 degree angle will reach the subcutaneous fat layer without penetrating into muscle. Individuals with very little body fat may need to pinch the skin and inject at a 45-degree angle to ensure subcutaneous placement. Individuals with more body fat can typically inject at 90 degrees.
Step-by-Step SubQ Injection Procedure
Step 1: Wash hands thoroughly with soap and water. This is the single most important step for preventing infection. Gloves are optional for self-injection but recommended in research settings.
Step 2: Prepare the injection site by cleaning with an alcohol swab in a circular motion from center outward. Allow the alcohol to dry completely — injecting through wet alcohol causes stinging and can introduce contaminants.
Step 3: Draw up the calculated dose from the vial. Insert the needle through the rubber septum, invert the vial, and draw the desired volume. Tap the syringe gently to move any air bubbles to the top, then push the plunger slightly to expel air. A tiny air bubble is harmless in subcutaneous injection but reduces dose accuracy.
Step 4: Pinch approximately 1-2 inches of skin and fat between your thumb and forefinger at the injection site. This lifts the subcutaneous tissue away from the underlying muscle, ensuring proper depth.
Step 5: Insert the needle at a 45-90 degree angle in a smooth, quick motion. Hesitating during insertion increases discomfort. The quick "dart throw" technique is more comfortable than slow, tentative insertion.
Step 6: Release the skin pinch after the needle is inserted. Inject the peptide solution slowly and steadily — rapid injection into subcutaneous tissue can cause stinging or a burning sensation. A 5-10 second injection time for typical peptide volumes is appropriate.
Step 7: After injecting, wait 5-10 seconds before withdrawing the needle. This allows the solution to distribute into the tissue and prevents backflow through the needle track.
Step 8: Withdraw the needle at the same angle it was inserted. Apply light pressure with a clean gauze or cotton ball — do not rub, as this can disperse the peptide unevenly and may cause bruising. A small amount of bleeding is normal.
Intramuscular (IM) Injection
Intramuscular injection delivers peptide directly into muscle tissue, which has a richer blood supply than subcutaneous fat. This generally results in faster absorption and higher peak concentrations. IM injection is less common for peptide research but is used for some compounds and protocols.
Standard IM injection sites include the deltoid (upper arm), vastus lateralis (outer thigh), and ventrogluteal (hip) muscles. IM injection requires longer needles (1-1.5 inches) and slightly larger gauges (25-27 gauge) to reach muscle tissue through the overlying fat layer.
Common Injection Mistakes
Mistake 1: Not allowing alcohol to dry before injection. Wet alcohol on the skin is carried into the tissue by the needle, causing burning and potentially affecting peptide stability at the injection site.
Mistake 2: Injecting too quickly. Rapid injection creates a high-pressure bolus in the tissue that causes pain and may impair absorption consistency.
Mistake 3: Using the same injection site repeatedly. Lipodystrophy affects absorption and causes visible tissue changes. Rotate sites religiously.
Mistake 4: Reusing needles. Each use dulls the needle tip, increasing tissue trauma and infection risk. Insulin syringes are single-use devices.
Mistake 5: Injecting air bubbles. While a small air bubble in a SubQ injection is harmless, it displaces peptide solution and reduces dose accuracy. Always expel air before injecting.
Mistake 6: Storing pre-loaded syringes incorrectly. If you pre-load syringes (aliquoting), store them needle-up in the refrigerator to keep the solution away from the rubber plunger, which can leach chemicals into the peptide solution over time.
Mistake 7: Not checking the solution before injecting. If reconstituted peptide appears cloudy, contains particles, or has changed color since reconstitution, it may be degraded or contaminated. Do not inject compromised solutions.
Pain Management and Comfort
Some degree of sensation during injection is normal, but significant pain indicates a problem — wrong depth, too-fast injection, or needle hitting a nerve or blood vessel. If you hit a nerve (sharp shooting pain), withdraw and try a different spot. If blood enters the syringe when you pull back the plunger slightly (aspiration), you may have entered a blood vessel — withdraw and try again at an adjacent site.
Icing the injection site for 30-60 seconds before injection can reduce sensation. Allowing the peptide solution to reach room temperature before injecting reduces cold-related discomfort. And using the finest gauge needle available (31g) minimizes tissue disruption.
Post-Injection Considerations
Mild redness, itching, or a small bump at the injection site is common and typically resolves within hours. Bruising occasionally occurs when a small blood vessel is nicked during injection — this is cosmetic and doesn't affect absorption. Signs of infection (increasing redness, warmth, swelling, pain, or pus at the injection site) require medical attention. Proper aseptic technique makes infection extremely rare.