Subcutaneous Injection Technique: The Complete Guide to SubQ Injection for Peptide Research
Subcutaneous injection is the standard administration route for most research peptides. This detailed guide covers needle selection, site preparation, injection angle, depth, speed, post-injection care, and troubleshooting common problems.
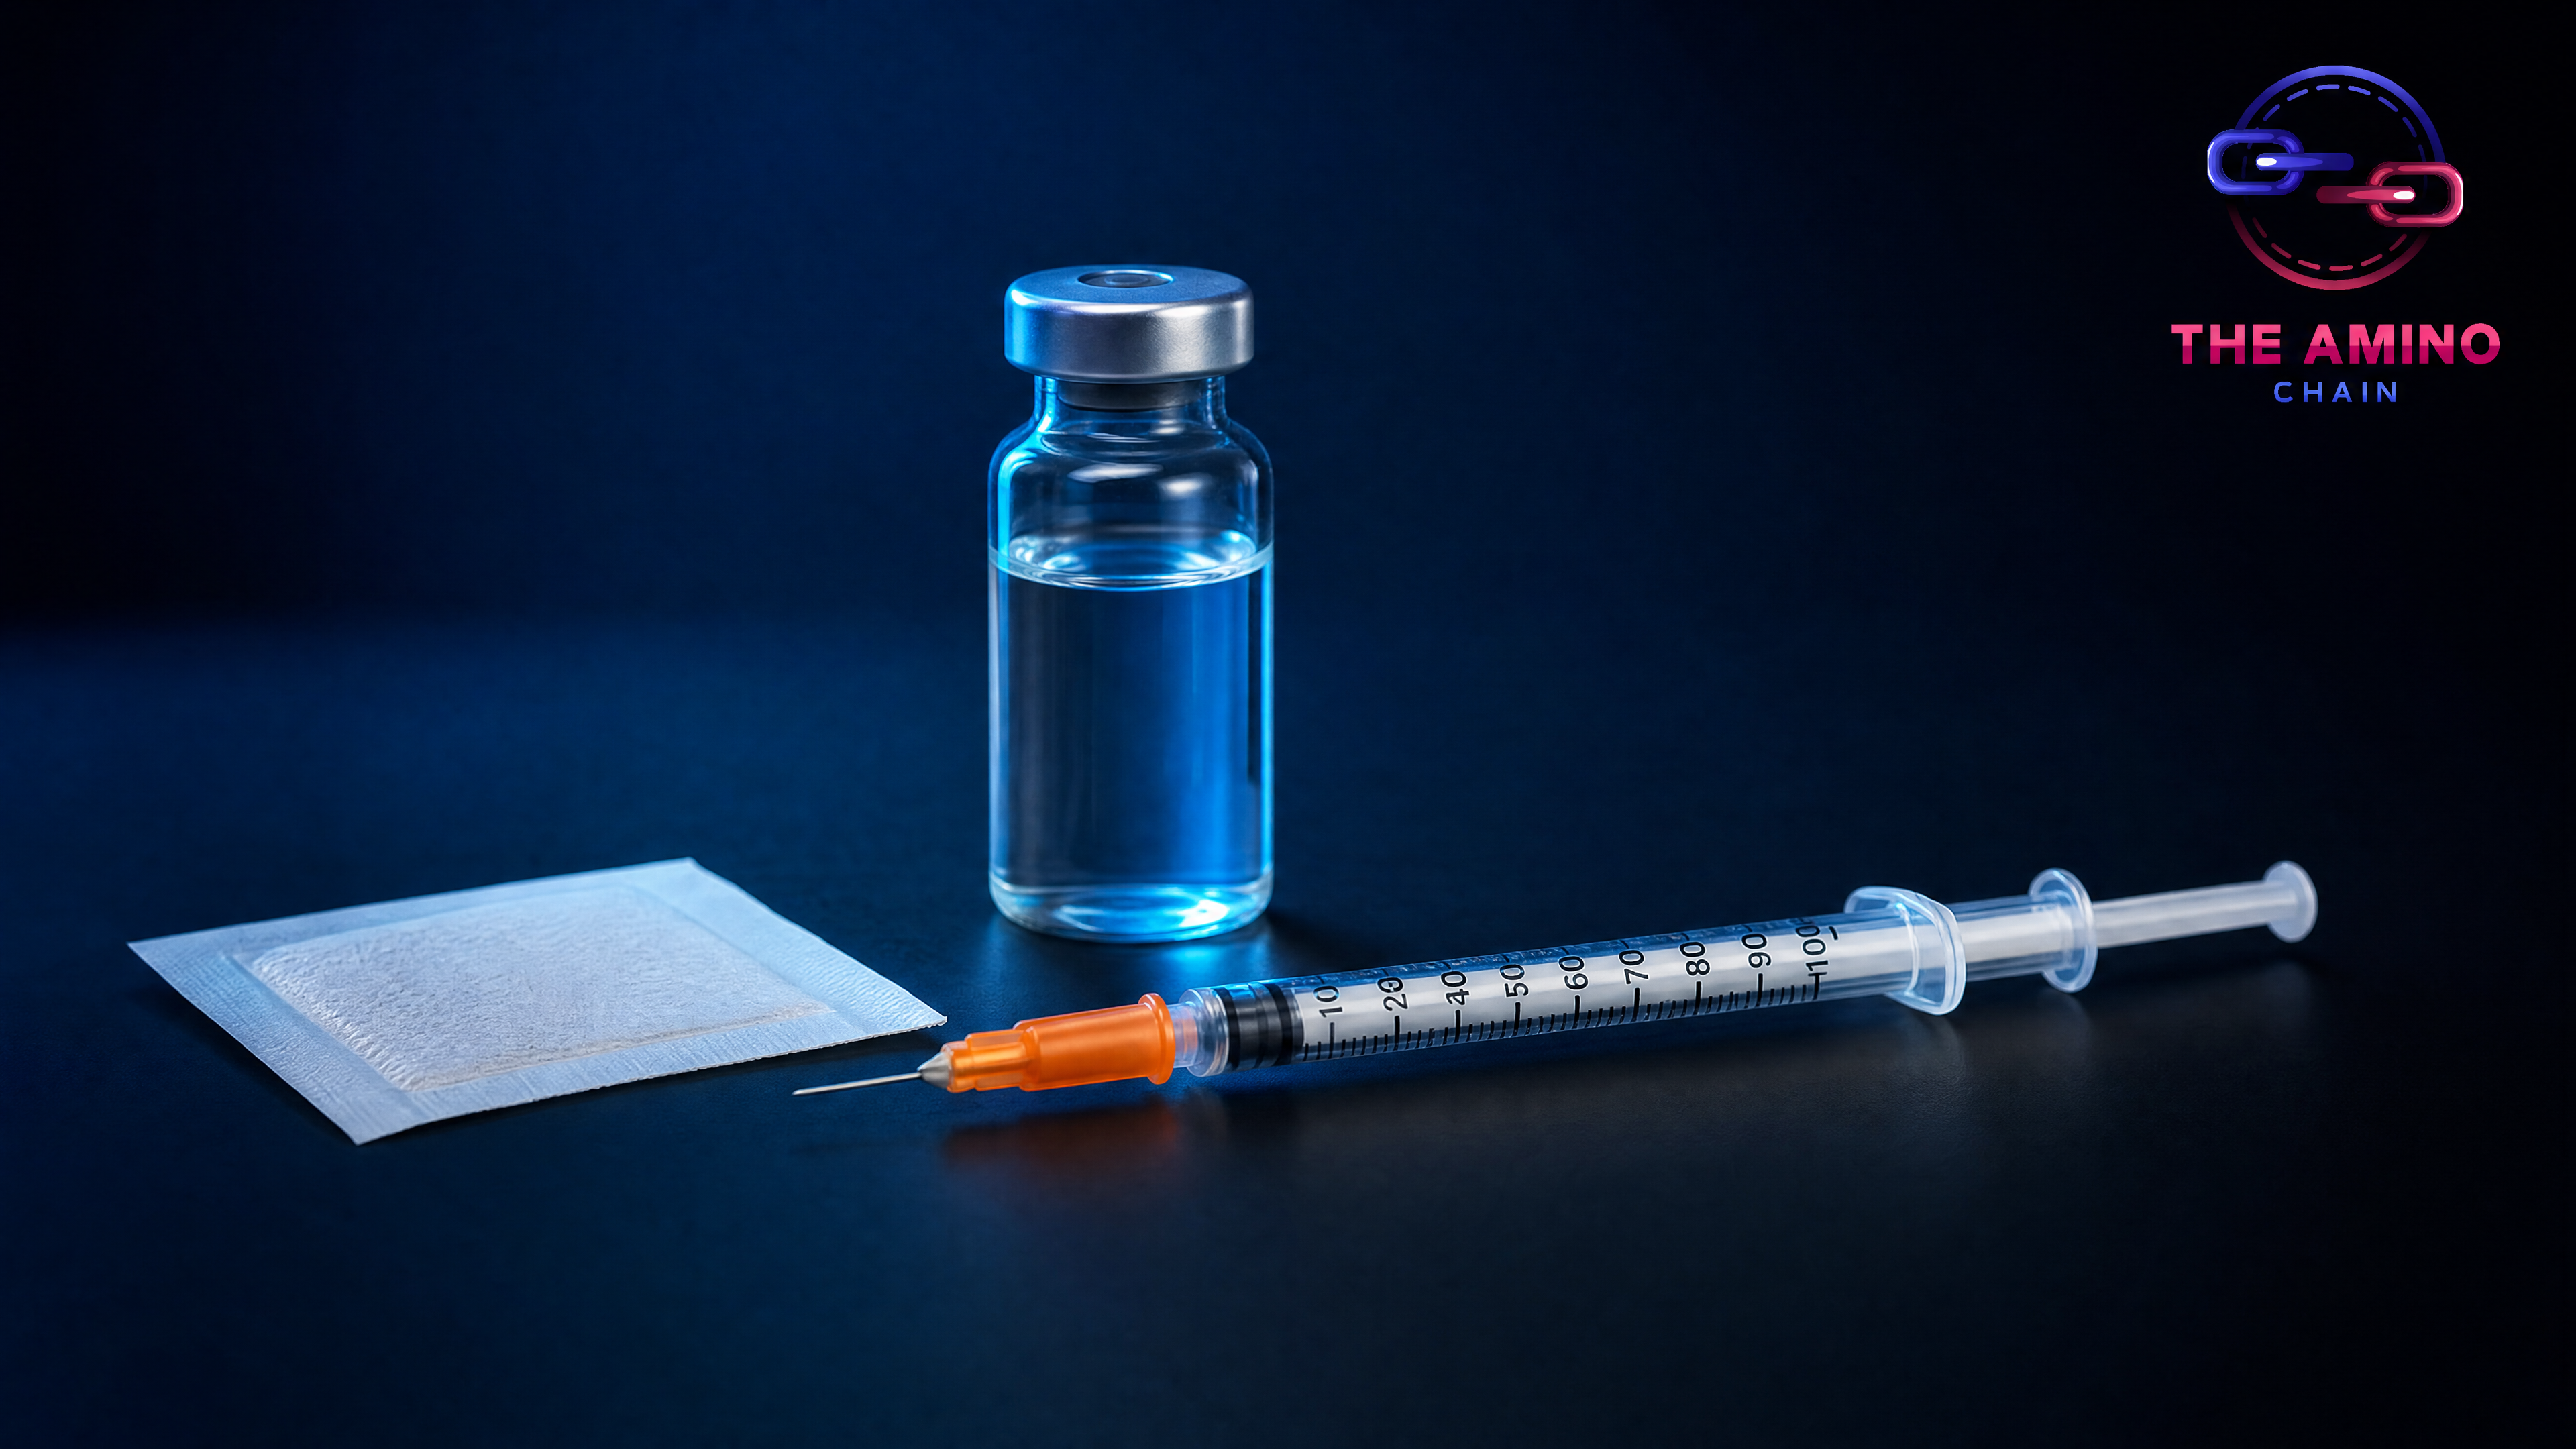
Subcutaneous (SubQ) injection delivers peptides into the fat layer between the skin and underlying muscle. It's the most commonly used administration route for research peptides because it provides consistent absorption, requires minimal technical skill, uses the smallest available needles, and is suitable for self-administration. But "simple" doesn't mean "trivial" — proper technique affects absorption consistency, comfort, infection risk, and tissue health at injection sites.
Why Subcutaneous for Peptides?
The subcutaneous fat layer provides an ideal depot for peptide absorption. Blood flow through subcutaneous tissue is moderate — faster than intradermal but slower than intramuscular — producing a sustained absorption profile that avoids the sharp peak concentrations of IM injection. The fat layer also contains relatively few pain receptors compared to skin or muscle, making SubQ injections more comfortable. And the consistent depth and vascularity of subcutaneous tissue provides reproducible absorption — important for maintaining consistent peptide levels across doses.
Needle Selection
For subcutaneous peptide injection, insulin syringes are standard. The key specifications are gauge (needle thickness), length, and syringe volume.
Gauge: 29-31 gauge is standard for SubQ peptide injection. Higher gauge numbers indicate thinner needles — 31 gauge is thinner than 29 gauge. Thinner needles cause less tissue trauma and less injection sensation. 31 gauge is recommended when available. 29 gauge is acceptable and may be easier to find.
Length: 1/2 inch (12.7mm) is standard for SubQ injection. This length reaches the subcutaneous fat layer in most body areas without penetrating into muscle. For very lean individuals, a 5/16 inch (8mm) needle may be preferable to avoid intramuscular injection. For individuals with more body fat, 1/2 inch is appropriate.
Volume: U-100 insulin syringes come in 1mL (100 unit), 0.5mL (50 unit), and 0.3mL (30 unit) sizes. Use the smallest syringe that accommodates your dose volume — smaller syringes have finer graduation marks for more accurate measurement. For doses under 30 units (0.3mL), a 30-unit syringe provides the best precision.
Site Preparation
Step 1: Wash hands thoroughly with soap and water for at least 20 seconds. Hand hygiene is the single most effective infection prevention measure.
Step 2: Select the injection site. The abdomen (2+ inches from the navel), upper outer thigh, and back of upper arm are the standard SubQ sites. Avoid areas with visible veins, moles, scars, or bruises.
Step 3: Clean the injection site with an alcohol swab, using a circular motion from center outward. Use firm pressure — you're mechanically removing bacteria, not just wetting the skin.
Step 4: Allow the alcohol to dry completely — this takes 15-30 seconds. Injecting through wet alcohol pushes it into tissue, causing stinging and potentially affecting peptide stability at the injection site. Patience here reduces discomfort significantly.
Drawing Up the Dose
Swab the peptide vial stopper with a fresh alcohol pad. Draw air equal to your dose volume into the syringe. Insert the needle through the vial stopper and inject the air (this equalizes pressure and makes drawing easier). Invert the vial and draw the desired volume of peptide solution. With the needle still in the vial, tap the syringe gently to move air bubbles to the top, then push the plunger slightly to expel air. Withdraw the needle from the vial.
The Injection
Pinch 1-2 inches of skin and fat between your thumb and forefinger at the prepared injection site. This lifts the subcutaneous tissue away from the underlying muscle, ensuring proper SubQ depth.
Insert the needle at a 45-90 degree angle in one smooth, quick motion. For lean individuals or thin fat layers, use 45 degrees. For normal to larger fat layers, 90 degrees is appropriate. Quick insertion is more comfortable than slow, tentative needle advancement.
Release the skin pinch after the needle is fully inserted. Inject the solution slowly and steadily over 5-10 seconds. Rushing the injection increases pressure in the subcutaneous tissue, causing discomfort and potentially affecting absorption.
After completing the injection, wait 5-10 seconds before withdrawing the needle. This allows the solution to distribute and prevents backflow through the needle track. Withdraw at the same angle of insertion.
Post-Injection Care
Apply light pressure with a clean cotton ball or gauze pad for 10-15 seconds. Do not rub — rubbing disperses the peptide and can cause bruising. A small drop of blood is normal and does not affect the dose. Apply a small bandage if desired.
Dispose of the used syringe in a sharps container. Never recap needles — recapping is the most common cause of needlestick injuries. Never reuse needles or syringes.
Site Rotation
Rotate injection sites systematically to prevent lipodystrophy. A simple 4-quadrant abdominal rotation (upper left, upper right, lower left, lower right) provides 4 distinct areas. Within each quadrant, space individual injection sites at least 1 inch apart. Mark each injection with a small dot (washable marker) or use a tracking log to ensure consistent rotation.
Troubleshooting
Burning during injection: Usually caused by injecting too fast, cold solution (allow to reach room temperature), or wet alcohol on the skin (wait for complete drying). Slow down the injection speed and ensure the alcohol has dried.
Bruising: Caused by nicking a small blood vessel. Not harmful but cosmetically undesirable. Applying firm pressure immediately after withdrawal and avoiding rubbing reduces bruising.
Lump at injection site: A small palpable lump is normal — it's the bolus of injected fluid in the subcutaneous tissue. It should absorb within 1-2 hours. Persistent lumps over multiple days suggest injection depth may be too shallow (intradermal rather than subcutaneous).
No effect from the peptide: Consider whether the issue is injection technique (too deep = IM, too shallow = intradermal), peptide degradation (storage issues), incorrect dose calculation, or unrealistic expectations for the compound's effects.